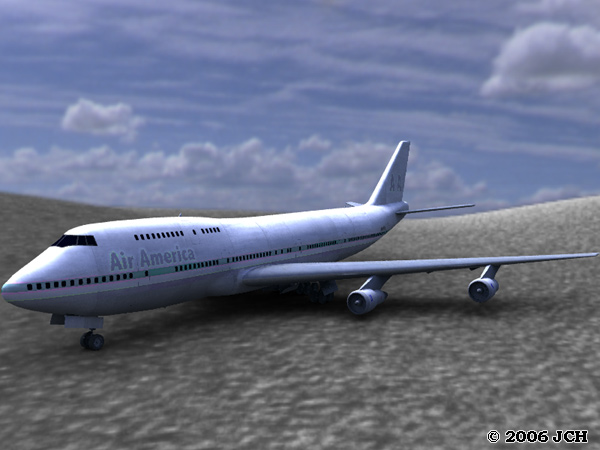
(Final, rendered image.)
Applications used:
• Poser (any version)• Windows Explorer (to copy texture files)
• Vue d'Esprit 5
This is a very basic tutorial on how to export a model from Poser and render it in Vue. You should have basic skills in Vue d'Esprit to know how position the camera and model, but advanced knowledge of Vue is not needed.
For this tutorial, I will be using my 747 (JumboJet) model, found at the Vanishing Point Marketplace, but you can use any model you like. (Note: links open in a new window.)
1. First, we need to decide which model we want to use and load it into Poser. For this tutorial, we'll use the 747 (JumboJet) model.
|
• First, start Poser.
• Make sure you're working with a brand-new, empty scene. • Add the 747 (JumboJet) to the scene by going to your Figures Library, then the VP sub-section. • Click on the thumbnail picture for the "JumboJet" and then click the "  " button (Apply Library Preset). " button (Apply Library Preset).
Wait a moment as Poser adds the 747 (JumboJet) to the scene. • You may not see anything at first, which may be due to your camera setting. Click on the Main Camera and zoom out until your screen roughly matches the image on the right. (The exact camera placement is not important since exporting the model won't transfer camera settings to Vue.) • In this example, I'm using the "Air America" texture, but you can use any texture you like. • Also notice the dials in the "Other" section of the Parameter Dials 'tab': "RaiseLowerGear" and "OpenCloseGearDoors": they are set to show the landing gear in the lowered position and to show the landing gear doors open. If you are making a scene where the aircraft is flying, you should set both of these dials to "1", which will raise the landing gear and close the doors. |
 |
2. Next, export the model for use for use in Vue.
|
• Go to File > Export > Wavefront Obj.
• In the first dialog box (Export Range), select the option for "Single frame" and click the "OK" button. |
 |
| • In the next dialog box (Hierarchy Selection), we need to select which models (and which parts of the models) will be exported: since we only want the JumboJet model, uncheck the checkbox for "UNIVERSE", and re-check the check box for "JumboJet". (Checking the box for the JumboJet will automatically select all of its parts.) Click the "OK" button. | 
|
| • In the next dialog box, check the top two options, for "Include body part names..." and "Use exact internal names..." Leave the rest of the options checked or unchecked by default.
• In the final dialog box, select a folder and name the file (I suggest an obvious name, like "jumbojet.obj"). Remember where you save it: we will need the file's location in the next step. |

|
3. Move textures.
|
• We are finished exporting the model from Poser, but before we import it into Vue, we need to make sure the textures are in the same folder as the obj file we just created.
• You can either copy the files from your Poser\Textures folder OR extract the jpg files from the 747 (JumboJet) product zip file. |
4. Bring the model into Vue.
|
• Open Vue 5 and start with a blank scene.
• Load the 747 (JumboJet) by going to File > Import Object. • Browse to the location where you saved the "jumbojet.obj" file. Click on it and click "open". • Wait a few moments for it to load into the scene. |
5. Adjust the scene.
|
• In this scene, the aircraft is supposed to be on a dirt hill, so we'll use the "Drop to Ground" button to place it on the ground. (See the image to the right.)
• Adjust the camera setting to suit your taste: rotate it around the scene, move it up and down, etc. |
 |
6. Set the lighting options.
|
• Go to Atmosphere > Atmosphere Editor.
• Click on the option for Environment Mapping. • Next, click on the "Effects" tab. • Now, we'll select an image to use as our "environment map". Double-click on the black square (just below "Environment Map"). |
 |
6a. Select an image to use as an environment map.
|
• First, select the option for "HDRI"
• Second, select an image to use. For this example, I used the image on the far right. • Then, click the "OK" button. |
 |
6b. Yes, use image based lighting.
| • After you have selected an image (and clicked the "OK" button), Vue will ask if you want to setup your scene for image based lighting. Click the "Yes" button. |  |
6c. Environment and lighting options are all set.
|
• Vue may take a moment to process the image and lighting. When it's done, you should be returned to the Atmosphere Editor screen.
• Leave the rest of the options as they are and click the "OK" button. |
 |
7. Set the render options.
|
• Go to Picture > Render options.
• Set the options to suit your taste, but I recommend using the option for "Final" or above for the best results. • click the option for "Render to screen" and set the size of the image... or if you prefer, render the image straight to disk. • Click the "OK" button when done. |
8. Render the scene!
|
• Click the "Render" button (or go to Picture > Render).
• Sit back or take a break as Vue renders the scene. |
Optional: Experiment on your own
|
• Try adjusting the light settings to make the scene brighter or darker to suit your taste. To do this, go back to the Atmosphere Editor. Keep the "Environment Mapping" option still clicked and click on the "Light" tab. Adjust these settings to suit your taste. Changing the "Sky dome lighting gain" setting will increase the brightness (or darkness) of the scene. (See the screen shot to the right.)
• Since the Vue renderer supports the same features as Poser 6 (reflection, refraction, etc), feel free to experiment with the material settings on the models in your scene. • Try other HDR images and see what kinds of results you get. |
 |
