| • Before we open anything, let's do some folder organization.
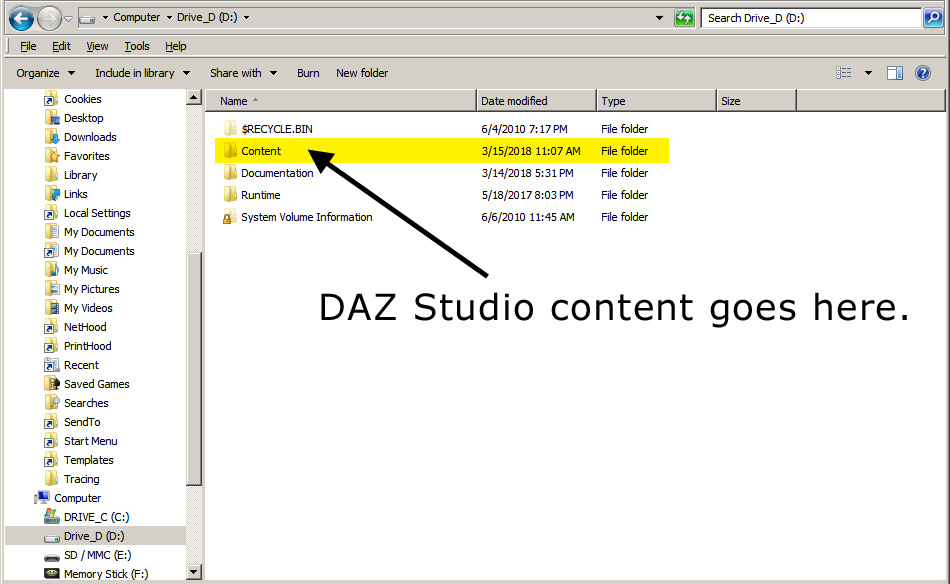
By default, DAZ Studio stores the files under \DAZ\DAZ 3D\DAZStudio4\My Library, but it can get a little confusing having to dig down all those folders. Instead, I recommend creating a separate folder for your content, called "Content" (isn't that handy). I also recommend making this a base folder on one of your drives (meaning it's not below any other folder), for example your D:\ or E:\ drive. In this example, let's create a new called D:\Content. Note: the screen shot shows other folders that you might have on your drive: - "Documentation" is where product support files, such as readme files and site licenses would go. - "Runtime" is where Poser files, templates, and textures would go. |
|
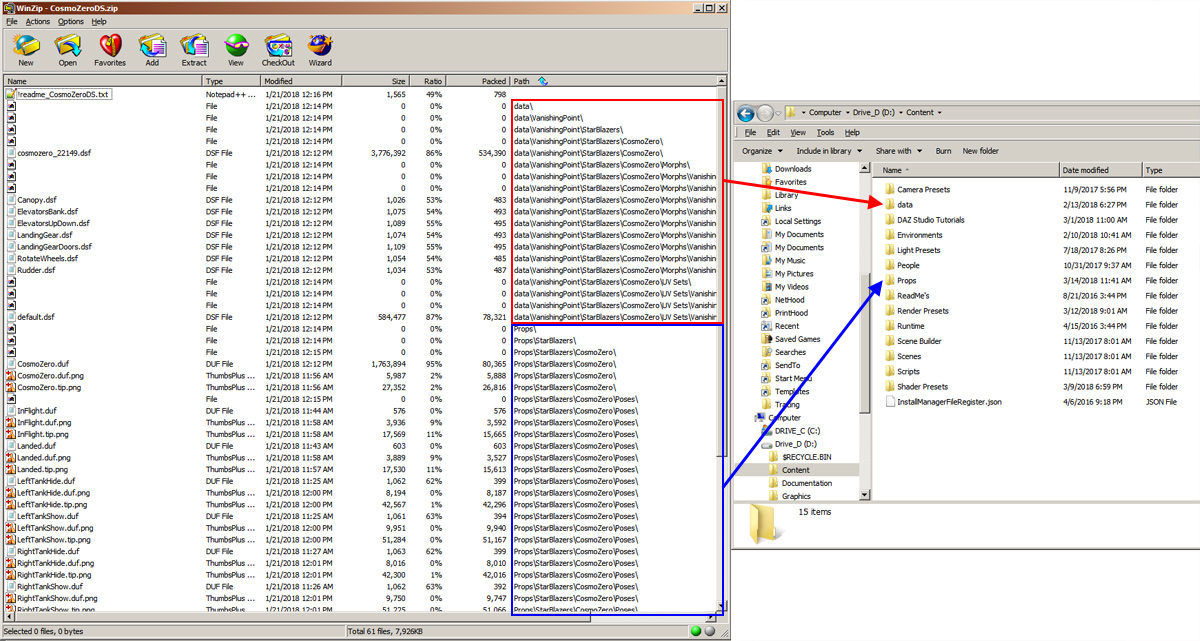
| • Now, open the zip file. In this case, we'll be using the Cosmo Zero spacecraft (from Star Blazers), available for free at Vanishing Point.
As you look through the list of files, you start to figure out where things go - The dsf file (which is the geometry for the model) will go under the \data or \auto_adapted folder. - The duf/ png (the model itself) will go under the \props folder. - The gif or bmp files (templates) will usually go under the \Runtime\Templates folder. Some zip files may not include templates. - The jpg files (textures) will go under the \Runtime\Textures folder. Note: don't worry if you see files with no names: these are placeholders that WinZip uses to create sub-folders. And don't worry if you don't see these kinds of files since it's an advanced open that can be turned on or off. |
|
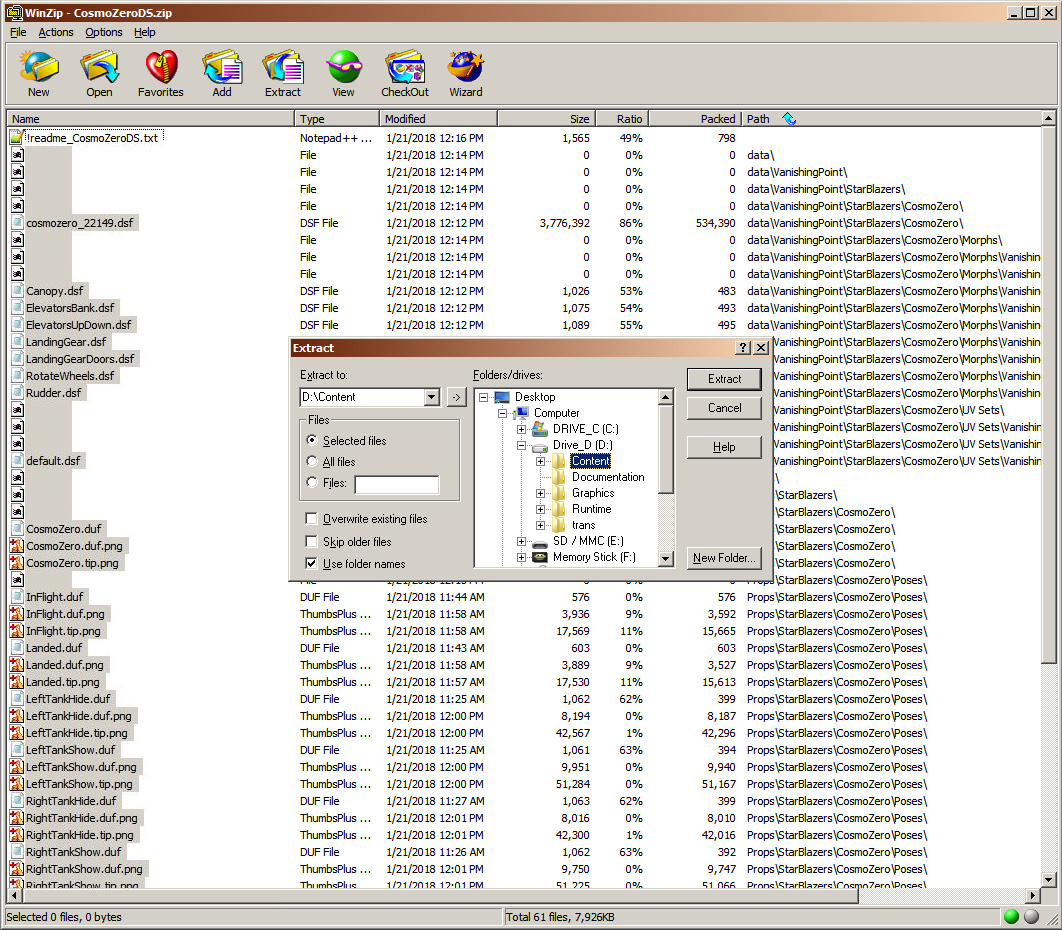
| • Select all of the files with folders. The reason for selecting specific files instead of using the "Extract All" button is so you don't extract files like the readme file or file listing.
When WinZip asks, select where you want to extract the files. In this example, we'll extract them to the D:\Content folder. Then click the "Extract" button. |
|
| • Now, let's open DAZ Studio.
Open your Content pane. In my example, I have it docked on the right-hand side of the screen, but you can drag it or dock it wherever you think is best. If the Content Pane isn't already not open, go to Window > Panes (Tabs) > Content Library. • Click to expand the "DAZ Studio Formats". You'll see all of your Content folders listed here, including the default locations "My Library", "My DAZ 3D Library", and "D:", which is the "Content" folder we extracted the files into. If you don't see "D:", you'll have to add it: - Click on "DAZ Studio Formats" to highlight it. - Right-click and select "Add a Base Directory...". - Browse to your D: drive, click on the "Content" folder and click the "Select Folder" button. - DAZ Studio may take a minute to read your content. |
|
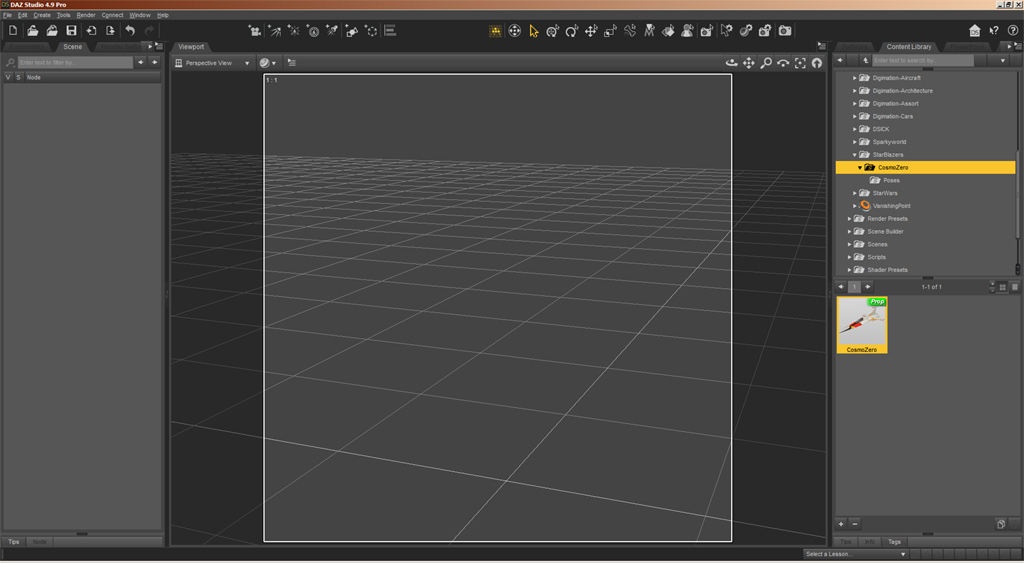
• Now, let's add the model to our scene: - From looking at the zip file, the files were installed to Props\StarBlazers\CosmoZero. - In DAZ Studio, click the arrow to the left of D:\ to show the folders beneath it. - Then scroll down to Props and click the arrow to the left of it. - Then scroll down to StarBlazers and click the arrow to the left of it. - Then click on the CosmoZero folder to see the model. • Double-click the CosmoZero icon to add it to your scene. - Then you could click on the arrow to the left to show the Poses folder that affect the model. • Double-click any files in the Poses folder to apply them to the model. |
|
• For future downloads, you can skip creating the Content folder and adding the folder within DAZ Studio since you already did it. And in most cases, the readme file will explain which folders the files will wind up in, or you can look in the zip file. |
